Prerequisites
Prerequisites #
In order to contribute to Meltano, you will need the following:
- Python 3.7+. For more details about Python requirements, refer to the “Requirements” section of the Installation instructions, that also apply here.
- Node 8.11.0+
- Yarn
Setting Up Your Environment #
# Clone the Meltano repo
git clone git@github.com:meltano/meltano.git

# Change directory into the Meltano project
cd meltano

# Install the Poetry tool for managing dependencies and packaging
pip3 install poetry

# Install all the dependencies
poetry install

# Install the pre-commit hook
poetry run pre-commit install --install-hooks

# Obtain a shell in the poetry created virtual environment
poetry shell
Meltano is now installed and available at meltano, as long as you remain in your virtual environment that you access
via poetry shell! Most editor’s like VSCode or PyCharm
can also be configured to detect and make use of virtualenv’s, or even be configured to use poetry directly. That allows
meltano commands to work as you expect in editor based terminals, and is also typically required to enable advanced
editors features (debugging, code hints, etc).
You can also run meltano outside of an activated virtualenv by prefixing all commands with poetry run , e.g.
poetry run meltano....
Note that for users who are using pyenv with the virtualenv plugin you will
likely not need to prefix the commands with poetry as poetry will default to using the pyenv activated virtual
environment.
This means that you’re ready to start Meltano CLI development. For API development, read on.
Metrics (anonymous usage data) tracking
As you contribute to Meltano, you may want to disable metrics tracking globally rather than by project. You can do this by setting the environment variable `MELTANO_SEND_ANONYMOUS_USAGE_STATS` to `False`:
# Add to `~/.bashrc`, `~/.zshrc`, etc, depending on the shell you use:
export MELTANO_SEND_ANONYMOUS_USAGE_STATS=False
System Database #
Meltano API and CLI are both supported by a database that is managed using Alembic migrations.
Alembic is a full featured database migration working on top of SQLAlchemy.
Migrations for the system database are located inside the meltano.migrations module.
To create a new migration, use the alembic revision -m "message" command, then edit the created file with the necessary database changes. Make sure to implement both upgrade and downgrade, so the migration is reversible, as this will be used in migration tests in the future.
Each migration should be isolated from the meltano module, so don’t import any model definition inside a migration.
Meltano doesn't currently support auto-generating migration from the models definition.
To run the migrations, use meltano upgrade inside a Meltano project.
Testing #
End-to-End Testing with Cypress #
Our end-to-end tests are currently being built with Cypress.
How to Run Tests #
- Initialize a new meltano project with
meltano init $PROJECT_DIRECTORY - Change directory into
$PROJECT_DIRECTORY - Clone Meltano repo
- Open Meltano repo in Terminal
- Run
yarn setup - Run
yarn test:e2e
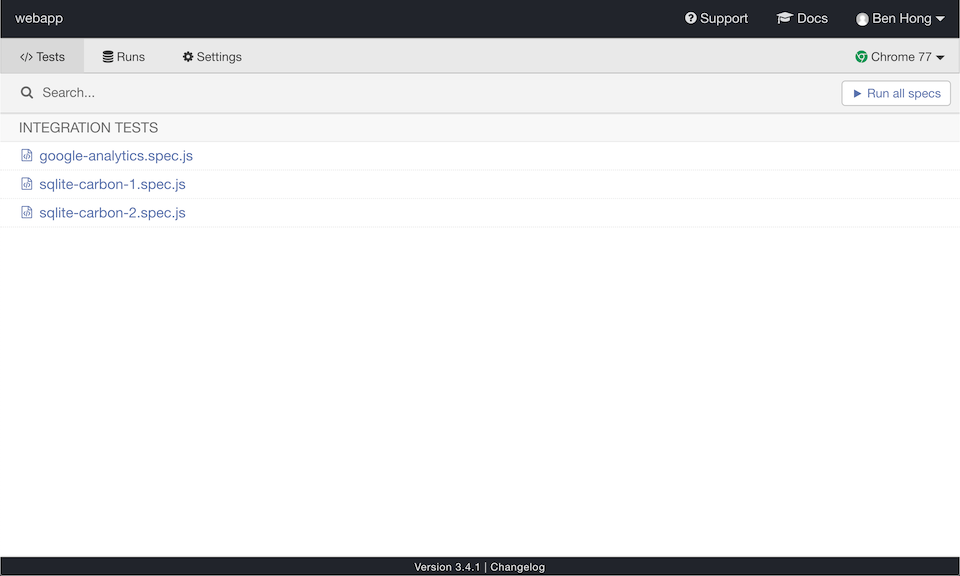
This will kick off a Cypress application that will allow you to run tests as desired by clicking each test suite (which can be found in /src/tests/e2e/specs/*.spec.js)

In the near future, all tests can flow automatically; but there are some complications that require manual triggering due to an inability to read pipeline completion.